Elements of our Candles
Explore the essential elements of Honey Candles' beeswax creations.
Read more

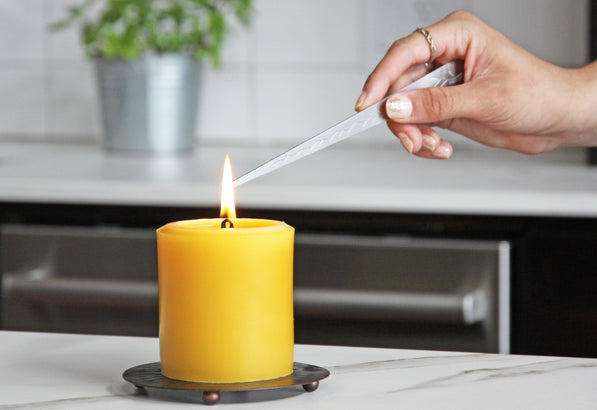
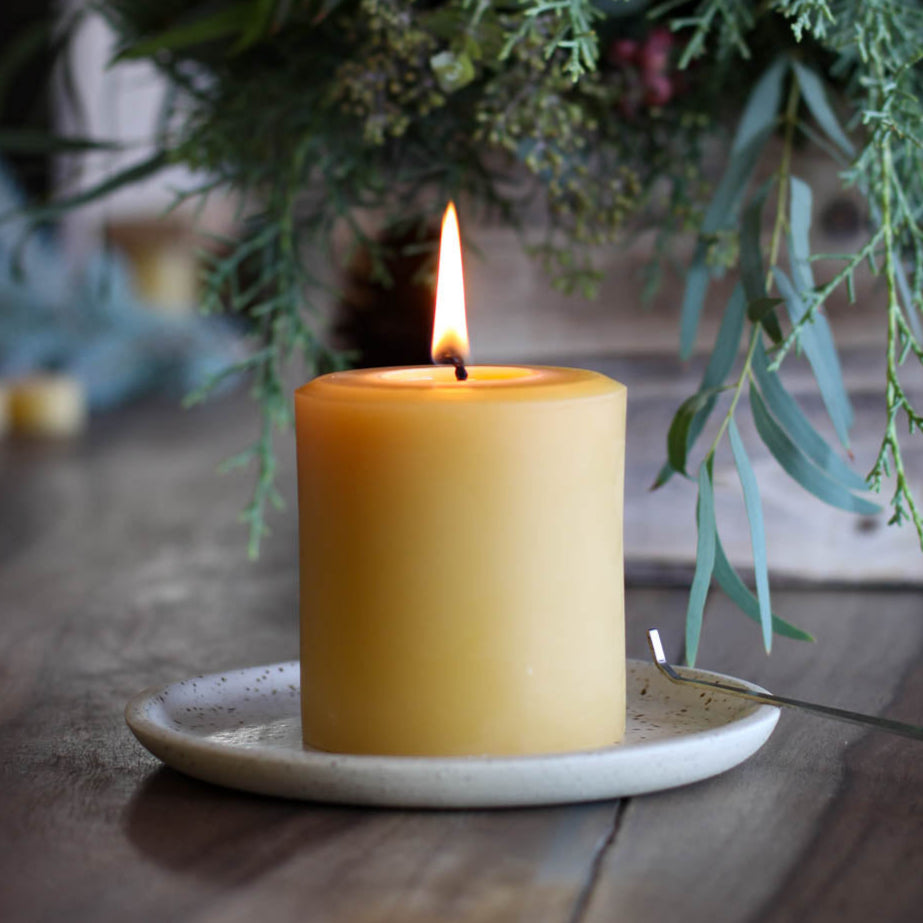
Remove label and place candle on a heat resistant holder or plate. Do not trim wick before first burn.
Burn pillars for 3+ hours, until top softens completely. Hug in edges of candle as it burns.
Trim wick to 1/4” before each subsequent burn.
If the flame flickers or smokes try hugging the candle more, trimming the wick, or moving it away from drafts.
To extinguish - dunk the wick into the wax pool then re-straighten.
We do not recommend using lanterns or hurricane lamps. They can trap heat causing your pillar to spill. Placing multiple pillars close together can also have this effect.
If at any time your pillar looks like it may spill, trim the wick to minimize the flame size.
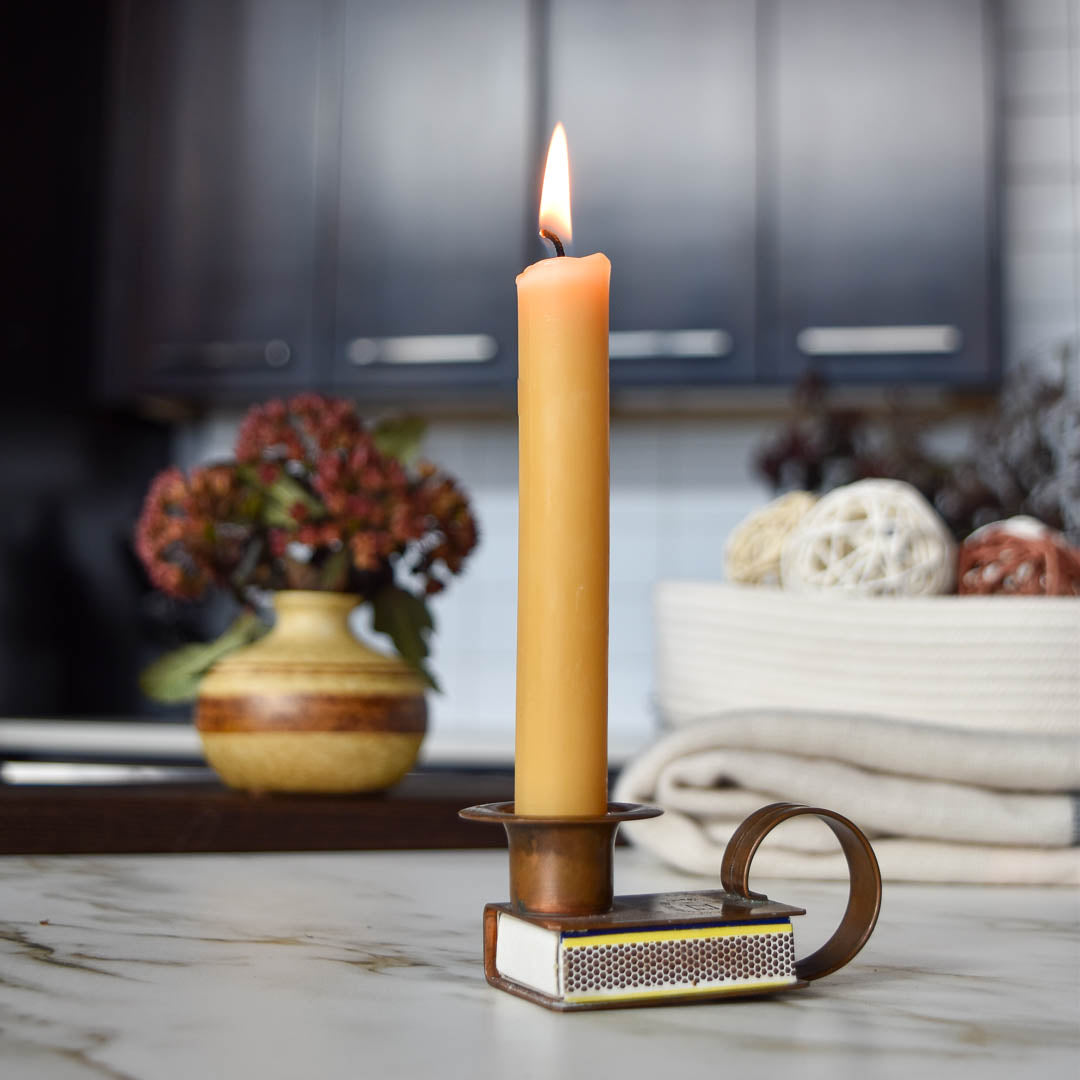
Fit candlesticks snugly into a secure holder and trim wick to ½” before lighting. A wick that is too short may cause dripping due to incomplete wax consumption. A wick that is too long will flicker and smoke. If your candle smokes, flickers, or develops a carbon cap on the wick, extinguish it by snuffing, trim the wick, and relight.
In rare cases, without intervention, carbon caps can drop off and melt down the side of the candle. Take care to observe and maintain your candle.
Drafts can cause candles to flicker and drip. If your candle drips, extinguish it, use a small piece of dripped wax to stop the flow, and move it away from any drafts before relighting.

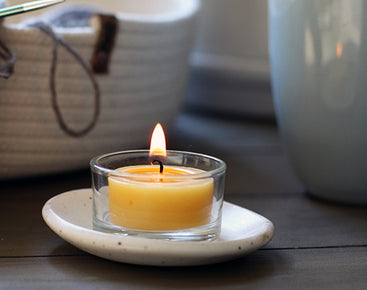
Because Votives are designed to fully liquefy they must be burned in a snug fitting cup. Do not trim the wick of a Votive before lighting. Only trim the wick of a votive if the flame is flickering excessively or producing smoke in a draft free environment. Votives should be burned for 1+ hrs each session. Votives have a large wick tab to keep the flame centered and disperse heat for a more complete burn. Be aware that in cool temperatures, especially thick holders or cold surfaces, may cause heat to draw away from the candle which may cause some wax to be left behind around the edges. After burning, place the cup in the freezer for easy tab and wax removal.
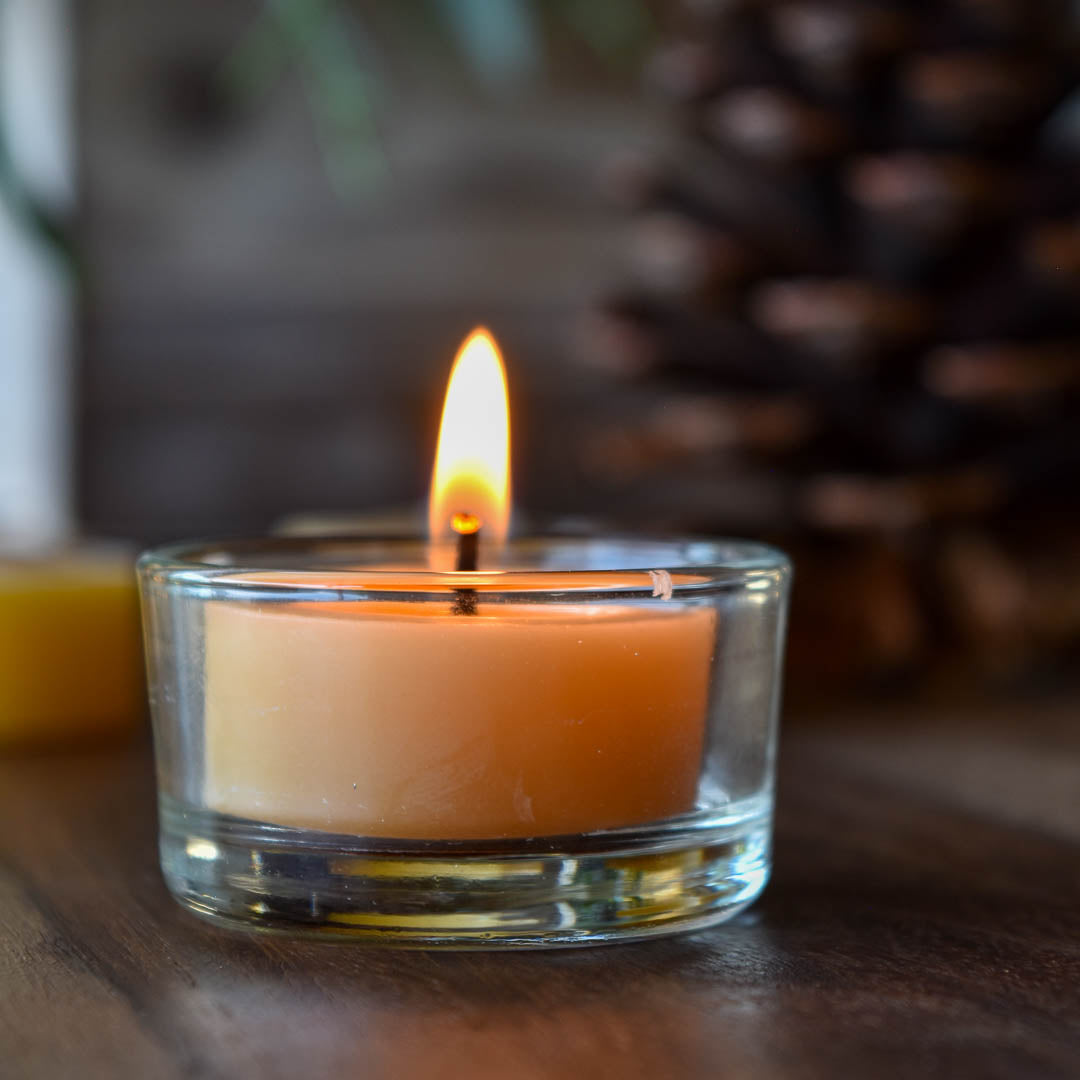
Tealights are designed to fully liquefy as they burn, so they must be burned in cups, either those provided or other cups made specifically for the shape. You don’t need to trim the wick and they perform best burned in one lighting. If less than half the wax is left when you extinguish your candle it may be difficult to relight and/or cause an incomplete burn. Be aware that in cool temperatures, especially thick holders or cold surfaces, may cause heat to draw away from the candle which may cause some wax to be left behind around the edges. After burning, place the cup in the freezer for easy tab and wax removal.
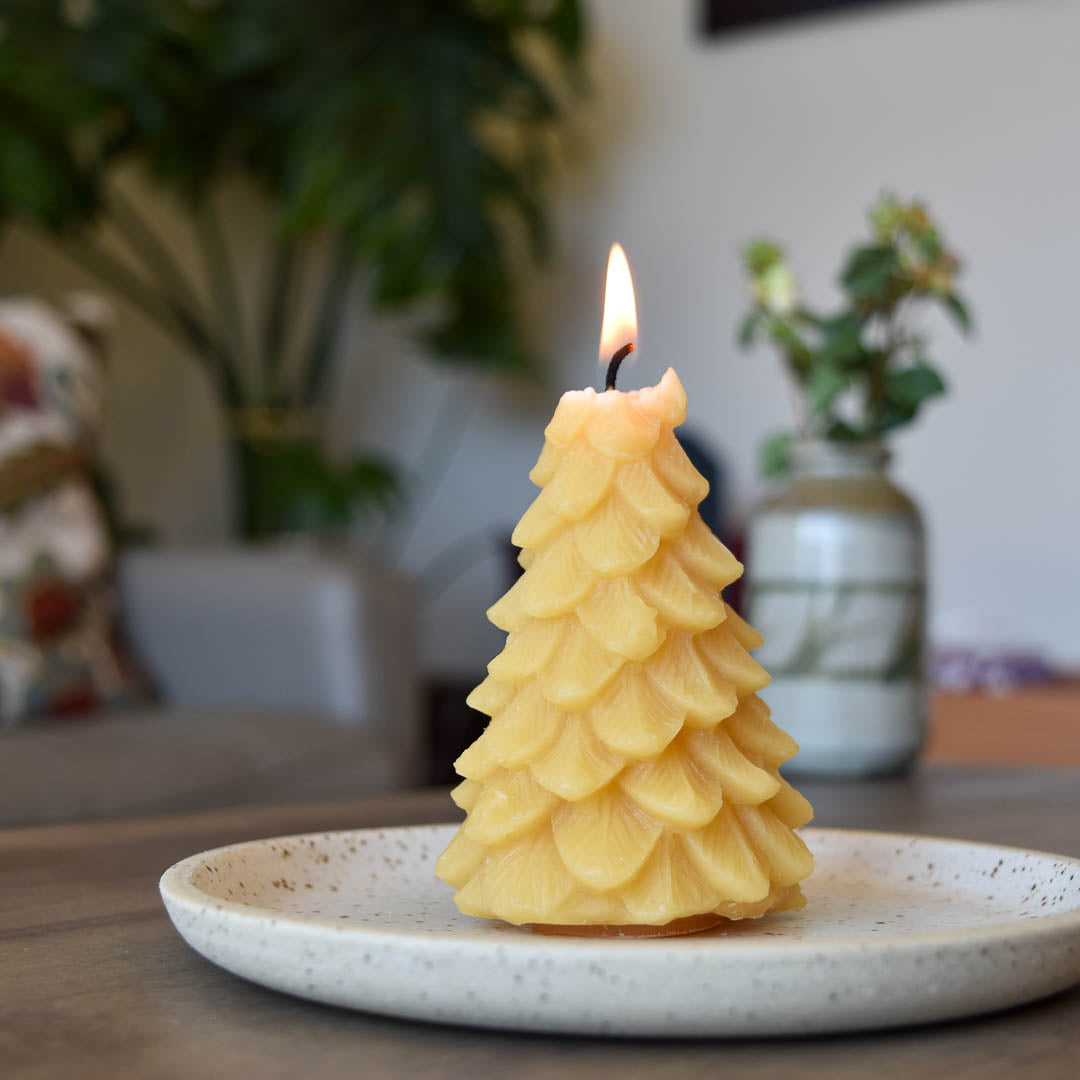
Always place Ornamentals on a pillar plate. Due to the intricate design of our decorative candles, you may find they need extra care. Wax may fall onto the plate, but you can slowly feed the fallen wax back into the candle. When burning candles with varying diameters, you may need to extinguish the flame when the melt pool gets too close to the edge. Let the wax cool and relight.
Lotus Tips: Before lighting your lotus candle, place it onto a pillar plate or gently lower it into a bowl or vase of still water being careful not to flood the top. Lotus' perform best when enjoyed in a single burn session. If a carbon cap develops on the wick or the wick smokes, trim the wick to 1/2”. If the candle gets flooded with water, release any trapped water and allow to dry completely before relighting.
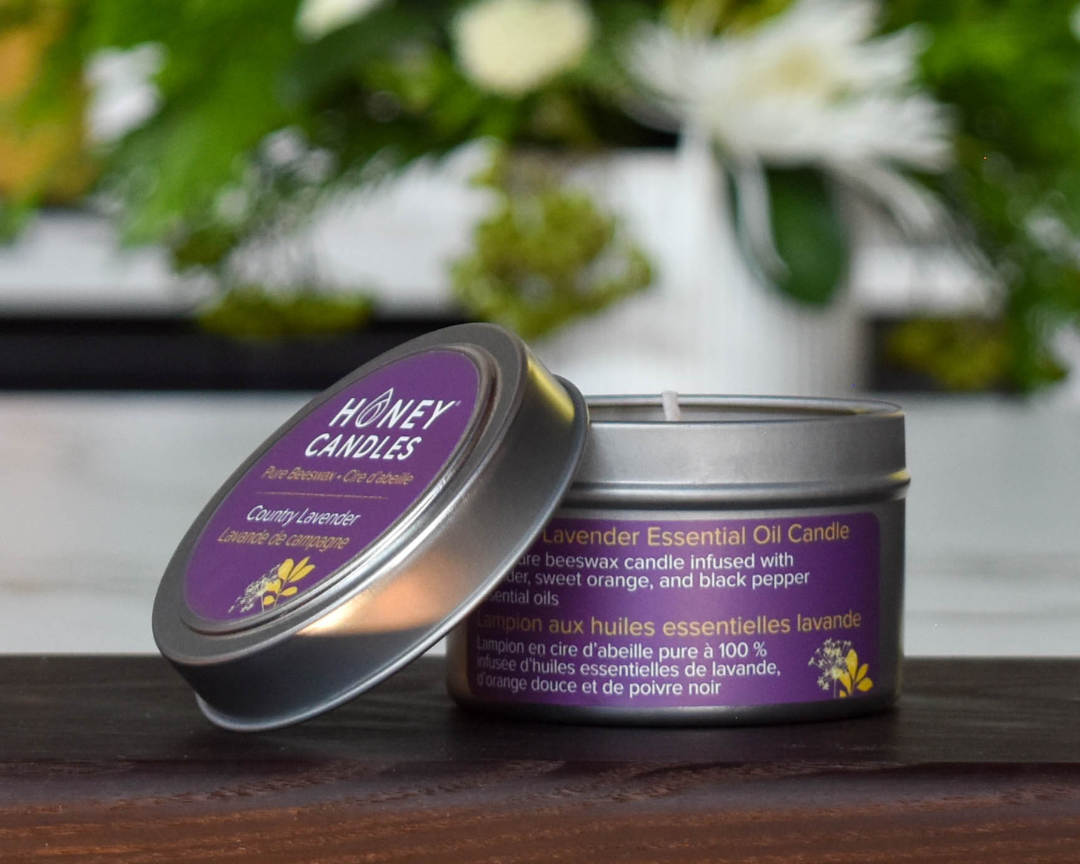
Before lighting your candle, place tin on a heat resistant surface or use a pillar plate.
DO NOT PLACE DIRECTLY ON WOODEN OR COMBUSTIBLE SURFACES.
To prevent the candle from tunnelling, let the wax melt to the edge of the tin each time you light it, this takes about 3 hours.
If a carbon cap develops on the wick or the wick smokes, extinguish and trim the wick to 1/2”.
To extinguish - dunk the wick into the wax pool then re-straighten.
Some candles require that the wick is trimmed before lighting. If the wick is left too long the flame will likely flicker and smoke. However, a wick that is too short can also be problematic causing candlesticks to drip and votives, tins, and tealights to leave unconsumed wax.
Candlestick wicks should be trimmed no shorter than a half inch. Pillars and ornamentals should be trimmed to no shorter than a quarter inch. The wicks of votives and tealights do NOT need to be trimmed before lighting.
Choose an appropriate holder or plate for your candle and always burn candles in a draft free environment. Candles should be out of the reach of pets and children and should never be left unsupervised.
For more tips on choosing and burning specific candles check out our article "Choosing a Candle"
Your candle is prepped and you’re ready to go. Whether you use a match, a lighter, or a twig from the fire that you started with your grandfather’s old flint - remember it is best to light the candle at the base of the wick rather than the tip to get the wax flowing.
Under most conditions our candles are virtually dripless. All candles are sensitive to air movement and may start to flicker and smoke if exposed to drafts. When a flame flickers, the candle may drip. If your candle drips, extinguish it, remove it from any drafts, and relight it. Forced air furnaces, ceiling fans and quick movements around the candle all create drafts.
Depending on the type of candle you are burning, you may have to trim the wick periodically. Extinguish your candle and trim the wick if:
You should never leave matches or trimmed pieces of wick in the candle. The debris can act like an additional wick causing your candle to burn too hot. A flame that is close to the edge can also cause wax to spill out and run down your candle making a mess.
Extinguish Pillars and larger diameter candles by dunking the wick into the melted wax and straightening it again. Make sure to center the wick for an even burn. This eliminates smoking and guarantees an easy relight. Wick Dippers are the perfect tool for the job but you can also improvise using an unbent paperclip or something similar!
Candlesticks, Votives, and Tealights should be snuffed out with a smokeless Wick Snuffer. If tealights are extinguished when they are less than half consumed then they may not burn completely upon relighting.
To remove the leftover tab and wax from glass votive and tealight cups we are big fans of what we have affectionately dubbed the “freeze and whack” method. Simply freeze the cup for a few hours and then use an old butter knife to firmly tap the metal tab on the bottom of the cup. It should pop out in a satisfying way along with any leftover wax. Wash the cup with warm soapy water.
The easiest way to remove beeswax from your holder is to place it in the freezer for a few hours. Once removed from the freezer simply chip the wax off and wash with warm soapy water. Always burn candles on or in appropriate holders.
If you spill on fabric, place the item in the freezer until it hardens and you can chip it off. You can also cover both sides of the fabric with paper towel and press a warm iron over the spill and repeat until the wax is absorbed.