

Easy step-by-step instructions for making beeswax food wraps at home. Beeswax wraps are a great way to reduce waste and keep your food fresh in your fridge or lunch bag.
We’ve given instructions for simple wraps with just a beeswax coating as well as a more complex recipe using beeswax, pine resin, and jojoba oil. The simple wraps will work fine at room temperature but may become brittle and/or flaky in the fridge or at cooler temperatures. Warming them with your hands will help with adhesion. Wraps that are made with the addition of pine resin and jojoba oil will be tackier and likely last slightly longer than the ones made with plain beeswax. The method is the same for both options and plain beeswax is a great place to start!
Ingredients & Materials required for plain beeswax wraps:
- 100% Cotton cloth cut into your desired shapes. Choose one with a tight weave, preferably organic.
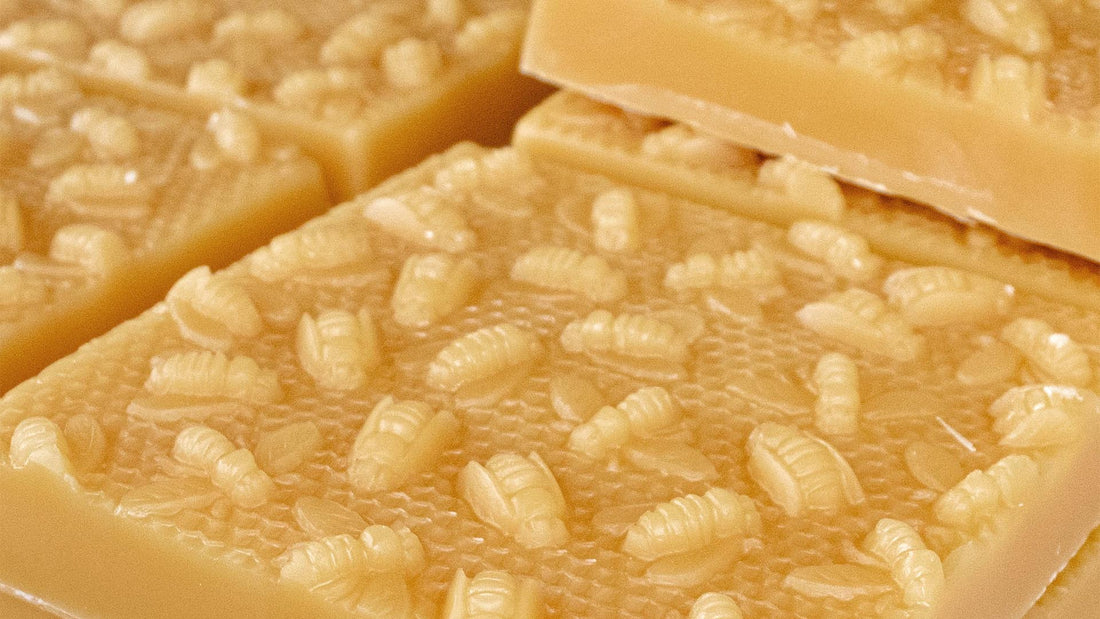
- 60-90g Honey Candles Beeswax
- Small pot
- Wide mouth glass jar that fits inside the pot to make a double boiler. Grab one from your recycling.
- Paintbrush about 1 or 2 inches wide – we recommend choosing one that you don’t mind sacrificing for the cause.
- Large baking sheet
- Parchment paper
- Tongs
If using resin and jojoba oil you will also need:
- 60g Pine Resin
- 15g Jojoba oil
This should be enough to make 3-6 large (10” square) wraps
Instructions:
- Fill small pot with about 1-2” of water and place on medium-high heat.
- Put beeswax (plus resin and oil if using) into the glass jar and place it into the pot of water. When the water comes to a boil, reduce the heat to keep it at a gentle boil. Mason jar rings on the bottom of the pot will help if the jar seems tippy.
- Gently stir the mixture about every 5 minutes until fully melted. If you’re just using beeswax this should take 10-20 minutes but will take longer if you’ve included pine resin as it has a higher melting point.
- While melting the beeswax, cut cloth into desired shapes and place on parchment lined baking sheet. Use pinking shears to avoid fraying if desired.
- When close to fully melted preheat oven to 300° F.
- When beeswax is fully liquefied and combined, use the paint brush to spread melted wax over the cloth sheets, don’t worry if it begins to harden as it will saturate the cloth when placed in the oven. Don’t overdo it, you can always add more beeswax but it’s difficult to take it away.
- Place in hot oven for 3 minutes, remove from oven and flip the fabric using tongs. Add more wax to areas that haven’t been coated and return to the oven for an additional 3 minutes.
- Remove from oven and carefully use the tongs to lift the cloth allowing any excess beeswax to drip off onto the parchment paper. Use clips or clothespins to hang the cloth on a string allowing it to completely dry before use.
Clean up:
Use dish soap and extra hot water for clean-up. If the mixture is stubborn, we recommend using boiled water to dissolve any residue and then wiping utensils clean with a paper towel or cloth rag. This method works well for cleaning beeswax off anything that won’t be damaged by water.
Clean up will be more difficult if you chose to include pine resin you may need to use rubbing alcohol or hand sanitizer to remove pine resin residue.


