
A Simpler Way to Use Beeswax Blocks in DIY Projects
There is no shortage of natural DIY inspiration in the world. Whether a friend tells you how to make your own beeswax salves, or you’re perusing Pinterest for a natural beeswax lip balm recipe, there is always something new to try.
Many do-it-yourself natural cosmetics and other DIY projects will include beeswax ‘pellets’ or ‘pastilles’ in the list of ingredients. These are small bits of beeswax, easy to measure and melt for DIY crafts and natural body care. One downfall to choosing beeswax pellets is that they often have unclear origins and are usually packaged in plastic bags. This is why we suggest using beeswax blocks for your crafting needs.
Beeswax blocks can easily be packaged without plastic- making them an eco-friendly choice and, being one dense block, they also take up less cupboard space! We offer a variety of sizes of beeswax blocks that can be used for any number of do it yourself projects.
When a recipe calls for 1 cup of beeswax pellets it can be difficult to know how to break up your 1-pound block to equal 1 cup, but there are several ways to substitute an eco-friendly beeswax block for plastic wrapped beeswax pellets. Some instructions will suggest grating your block to make your own pellets and then measuring the grated wax as the recipe calls for. This works and will certainly achieve the desired result. However, it can be time consuming and hard on your cheese grater!
To save your time (and your cheese grater), there are much simpler ways to use a beeswax block in your diy projects. One great thing about beeswax is that its liquid weight and its dry weight are equal! Using the conversion chart below you can weigh beeswax in its solid state and know exactly the measurement it will equal melted!
|
Melted Wax Measurement |
Solid Wax Weight |
|
1 tbsp |
½ ounce |
|
2 tbsp |
1 ounce |
|
3 tbsp |
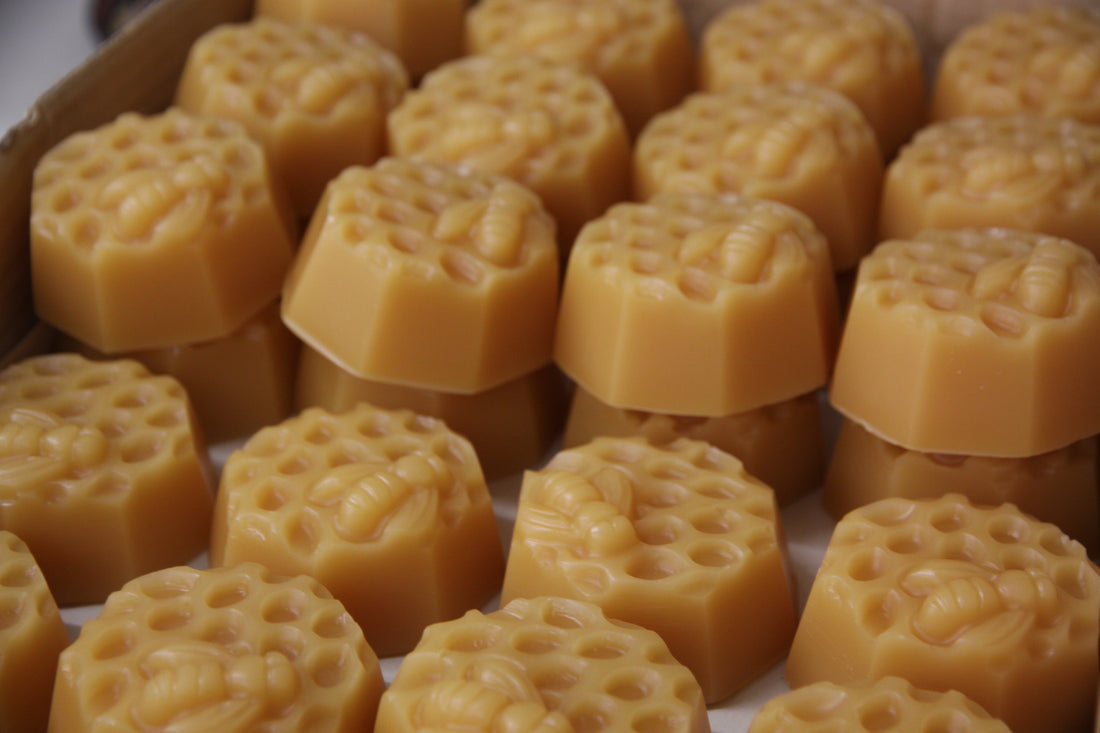
1.5 ounce – Dragon Fly Medallion |
|
¼ cup |
2 ounces |
|
5 tbsp |
2.5 ounces – Honey Bee Medallion |
Although, if you don’t have a kitchen scale, would prefer to avoid converting weight to volume, or if you plan to use beeswax consistently in your DIY creations there maybe an even better method for you. Simply grab a cleaned tin can from your recycling or hit the thrift store for a used pot. Bring water to a boil in a larger pot and use your can or thrifted pot as a makeshift double boiler. Once the wax is melted, you can easily measure it for your recipe and then let the rest of the wax re-harden and simply store it (still in the tin/pot) in your closet or cupboard until your next project. You can add more blocks for future projects as needed!
Update: For those who prefer the convenience of pre-portioned wax, we now offer Canadian-sourced beeswax pellets — clean-burning and ethically produced. Many imported beeswax products are of unclear origin, so we’re proud to offer a Canadian-made option you can trust. Browse our collection of raw beeswax options here »
Updated July 2025


